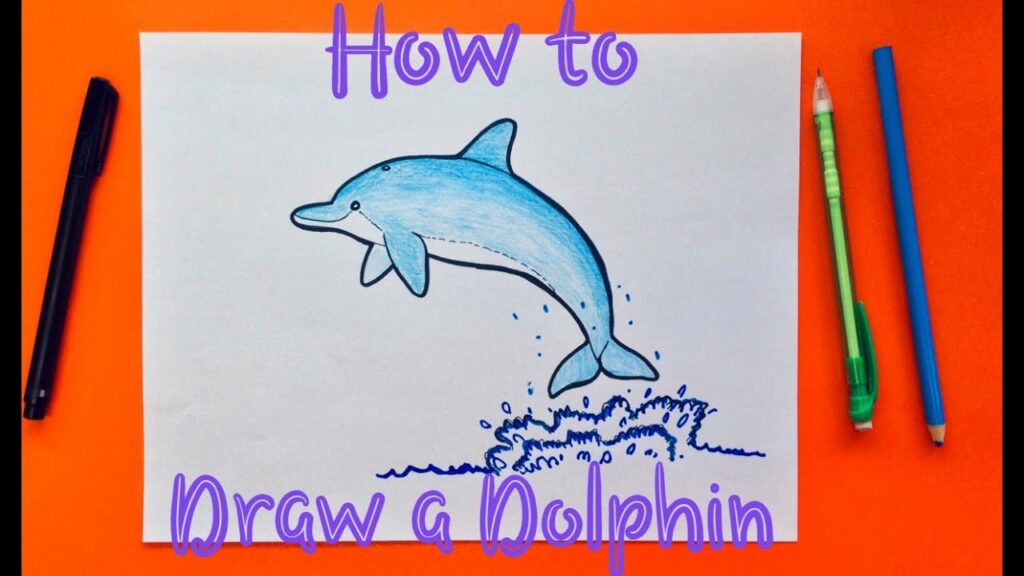
Master the Art: How to Draw a Realistic Dolphin, Step-by-Step
Have you ever been captivated by the graceful beauty of a dolphin, their sleek bodies arcing through the waves? Perhaps you’ve yearned to capture that essence on paper, to learn how to draw a dolphin realistic enough to almost hear its playful clicks and whistles. This comprehensive guide is your deep dive into the art of realistic dolphin drawing, whether you’re a seasoned artist or just starting your creative journey. We’ll go beyond simple cartoon sketches and explore the anatomical nuances, shading techniques, and artistic principles that will transform your drawings from simple outlines to stunningly lifelike portraits of these magnificent creatures. Prepare to unlock your inner artist and create dolphin drawings that truly capture the spirit of the ocean.
Understanding Dolphin Anatomy: The Foundation of Realism
Before putting pencil to paper, let’s establish a solid foundation by understanding the anatomy of a dolphin. This knowledge is crucial for creating a realistic and believable drawing. Ignoring anatomical accuracy is a common pitfall, leading to drawings that look awkward or unnatural.
- Body Shape: Dolphins possess a streamlined, torpedo-shaped body, perfectly adapted for efficient movement through water. Note the gentle curves and the subtle tapering towards the tail.
- Head and Rostrum: The dolphin’s head is characterized by its elongated rostrum (snout). Pay attention to the placement and size of the eyes, which are relatively small and positioned on the sides of the head.
- Fins and Flukes: The dorsal fin, pectoral fins (flippers), and tail flukes are essential elements. The dorsal fin provides stability, while the pectoral fins aid in steering and maneuvering. The powerful tail flukes propel the dolphin through the water. Observe the shape and proportions of each fin carefully.
- Skin: Dolphin skin is smooth and flexible, allowing for minimal drag in the water. Subtle variations in color and texture add to the realism of your drawing.
Understanding these anatomical features will allow you to create a more accurate and convincing representation of a dolphin. Think of it as building a strong skeleton for your artwork.
Essential Materials for Realistic Dolphin Drawings
Having the right tools can significantly enhance your drawing experience and the quality of your artwork. While sophisticated equipment isn’t strictly necessary, investing in a few key materials will make a noticeable difference. Consider these essentials:
- Pencils: A range of graphite pencils, from hard (H) to soft (B), is essential for creating varying tones and values. Harder pencils (e.g., 2H, H) are ideal for light sketching and outlining, while softer pencils (e.g., 2B, 4B, 6B) are perfect for shading and creating darker areas.
- Erasers: A kneaded eraser is invaluable for lifting graphite and creating subtle highlights. A plastic or vinyl eraser is useful for removing larger areas of graphite.
- Drawing Paper: Smooth or slightly textured drawing paper is recommended. Avoid overly textured paper, as it can make it difficult to achieve smooth shading.
- Blending Tools: Blending stumps, tortillons, or even cotton swabs can be used to blend graphite and create smooth transitions between tones.
- Reference Images: High-quality reference images of dolphins are crucial for capturing accurate details and proportions. Use multiple references to get a comprehensive understanding of dolphin anatomy and poses.
Experiment with different materials to find what works best for your style and preferences. Remember, the tools are just a means to an end; the most important thing is to practice and develop your skills.
Step-by-Step Guide: How to Draw a Realistic Dolphin
Now, let’s get into the practical steps of drawing a realistic dolphin. This guide will break down the process into manageable stages, making it easier to achieve a stunning result.
- Sketch the Basic Outline: Begin by sketching a light, loose outline of the dolphin’s body. Focus on capturing the overall shape and proportions. Use a hard pencil (e.g., 2H or H) for this step, keeping the lines light and easily erasable.
- Refine the Anatomy: Refine the outline, paying close attention to the anatomical details discussed earlier. Define the shape of the head, rostrum, fins, and flukes. Use your reference images to ensure accuracy.
- Add Details: Add details such as the eye, blowhole, and any distinctive markings on the dolphin’s skin. Observe your reference images carefully to capture these details accurately.
- Establish the Light Source: Determine the direction of the light source. This will guide your shading and create a sense of depth and form.
- Begin Shading: Start shading the dolphin’s body, using a soft pencil (e.g., 2B or 4B). Begin with light layers of shading, gradually building up the darker tones. Pay attention to the contours of the body and the way light interacts with the surface.
- Blend the Shading: Use a blending stump or tortillon to blend the graphite and create smooth transitions between tones. This will create a more realistic and three-dimensional effect.
- Add Highlights: Use a kneaded eraser to lift graphite and create highlights on the dolphin’s body. These highlights will emphasize the form and create a sense of shine.
- Refine the Details: Refine the details, adding subtle variations in tone and texture. Pay attention to the areas around the eyes, fins, and flukes.
- Final Touches: Add any final touches, such as subtle shadows or reflections. Step back and assess your drawing, making any necessary adjustments.
Remember, practice is key. Don’t be discouraged if your first attempts aren’t perfect. Keep practicing and experimenting with different techniques, and you’ll gradually improve your skills.
Advanced Shading Techniques for Realistic Dolphin Drawings
Shading is crucial for creating a realistic and three-dimensional effect in your dolphin drawings. Mastering advanced shading techniques will elevate your artwork to a new level. Here are some techniques to explore:
- Hatching and Cross-Hatching: Hatching involves drawing parallel lines to create tone, while cross-hatching involves layering intersecting lines. These techniques can be used to create a variety of textures and tones.
- Stippling: Stippling involves creating tone by using small dots. The closer the dots are together, the darker the tone. This technique is particularly effective for creating subtle textures and gradients.
- Blending: Blending involves smoothing out the graphite to create smooth transitions between tones. Use blending stumps, tortillons, or even your finger to blend the graphite.
- Layering: Layering involves applying multiple layers of shading to build up the desired tone. This technique allows you to create subtle variations in tone and texture.
Experiment with these techniques to find what works best for your style and the specific characteristics of the dolphin you’re drawing.
Choosing the Right Dolphin Pose: Conveying Movement and Grace
The pose of your dolphin can significantly impact the overall impression of your drawing. A well-chosen pose can convey movement, grace, and the dolphin’s unique personality. Consider these factors when selecting a pose:
- Action: Is the dolphin leaping, swimming, or resting? A dynamic pose will convey a sense of energy and movement, while a more relaxed pose will convey a sense of calm and tranquility.
- Angle: The angle from which you view the dolphin will affect the perspective and composition of your drawing. Experiment with different angles to find the most visually appealing composition.
- Anatomy: Ensure that the pose you choose is anatomically accurate. Avoid poses that look awkward or unnatural.
- Storytelling: Consider what story you want to tell with your drawing. The pose can help convey the dolphin’s mood, personality, and relationship to its environment.
Use reference images to study different dolphin poses and find inspiration for your own drawings. Observe how the body curves and twists, and how the fins and flukes contribute to the overall sense of movement.
Capturing the Dolphin’s Eye: The Window to the Soul
The eye is often referred to as the window to the soul, and this is certainly true when drawing animals. Capturing the essence of the dolphin’s eye is crucial for creating a lifelike and engaging portrait. Here are some tips for drawing realistic dolphin eyes:
- Shape: The dolphin’s eye is relatively small and almond-shaped. Observe the subtle curves and angles of the eye.
- Highlight: Add a small highlight to the eye to create a sense of shine and reflection. The highlight should be positioned in a way that reflects the light source.
- Shadow: Add subtle shadows around the eye to create depth and form. Pay attention to the way the eyelids cast shadows on the eye.
- Expression: Capture the dolphin’s expression through subtle variations in the shape and shading of the eye. A slight tilt of the eye or a subtle change in the pupil size can convey a range of emotions.
Spend time studying reference images of dolphin eyes to understand the nuances of their shape, shading, and expression. The more attention you pay to the details of the eye, the more lifelike your drawing will be.
Adding Context: Drawing Dolphins in Their Natural Habitat
While a portrait of a dolphin can be beautiful on its own, adding context by depicting the dolphin in its natural habitat can enhance the story and create a more immersive experience for the viewer. Consider these elements when drawing dolphins in their environment:
- Water: The water is an integral part of the dolphin’s environment. Depict the water with realistic textures, reflections, and movement.
- Light: The way light interacts with the water can create a sense of depth and atmosphere. Use shading and highlights to capture the play of light on the water’s surface.
- Other Marine Life: Adding other marine life, such as fish, coral, or seaweed, can create a more vibrant and engaging scene.
- Composition: Pay attention to the composition of your drawing. Arrange the elements in a way that is visually appealing and tells a story.
Research different marine environments to find inspiration for your drawings. Observe how the water looks in different lighting conditions and how dolphins interact with their surroundings.
The Enduring Appeal of Dolphin Art: Why We’re Drawn to Draw Them
The fascination with dolphins extends far beyond their captivating appearance. Their intelligence, playful nature, and social complexity resonate deeply with us. Capturing their essence on paper is a way to connect with these remarkable creatures and celebrate their beauty. By mastering the techniques of realistic dolphin drawing, you can not only create stunning artwork but also deepen your appreciation for the natural world.
Ready to dive deeper into the world of marine art? Share your dolphin drawings with us in the comments below and let us know what aspects of dolphin art you find most challenging and rewarding. We’re excited to see your creations and continue this artistic journey together!
